Unboxing and Hardware Set Up
 Down Load
We packaged your Duplicator 3 very carefully at the Wanhao Botcave -- we hope you¡¯ll read this guide and be just as careful unpacking it. In fact, you should always be really careful with The Duplicator 3. Here are a few things to keep in mind.
Safety Information
1.1 Caution: The Duplicator 3 generates high temperatures and includes moving parts that can cause injury. Never reach inside The Duplicator 3 while it is in operation, and allow time for The Duplicator 3 to cool down after operation.

The Duplicator 3 is sensitive to electrostatic discharge. Make sure you don't have a static charge on you by touching a grounded object before operating The Duplicator 3 or attempting any adjustments. If opening The Duplicator 3 for service, ensure that the power supply is turned off and the cord is disconnected.
Package Contents
Here are the items that should be found in the Duplicator 3 package:
-The Duplicator 3
The cardboard box set into the top of The Duplicator 3 is the Accessory Box. In it, you¡¯ll find:
-Single or Dual Step exstruder MK7 +
-1x or 2x spool holders
-Feet and Bolts Kit
-Hex Wrench Kit
Inside The Duplicator 3's frame and underneath the build platform( Optional):
-1 kg White ABS filament( Only if you have ordered filament)
-1 kg black ABS filament (Only if you have ordered filments, dual Step exstruder MK8 models only)
Underneath The Duplicator 3:
-Power supply
-Power supply cable
-USB A to B cables
-1x or 2x filament guide tubes
Unboxing
2.1 The Duplicator 3 is packed very tightly and carefully -- take your time unpacking it. In this section, the names of important parts of the machine will be in bold type.

First, place The Duplicator 3's box on the ground next to a clean, flat workspace. Discard the top cardboard insert, if you haven¡¯t already. Now remove the inner cardboard box -- the one that fits around the outside of The Duplicator 3. 2.2
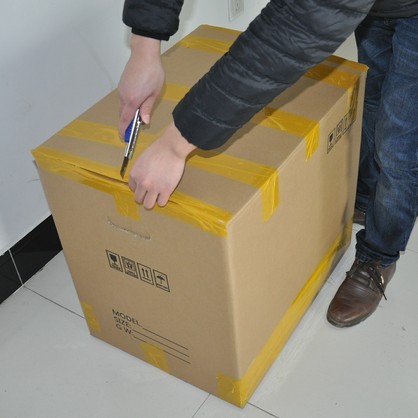
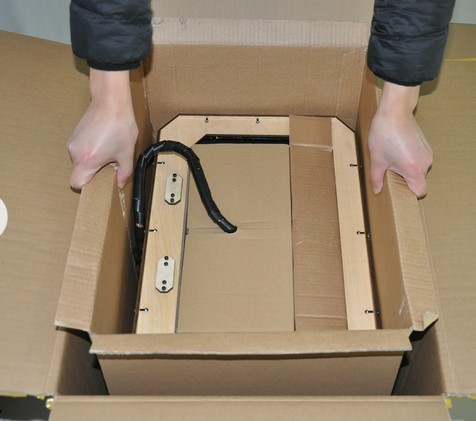
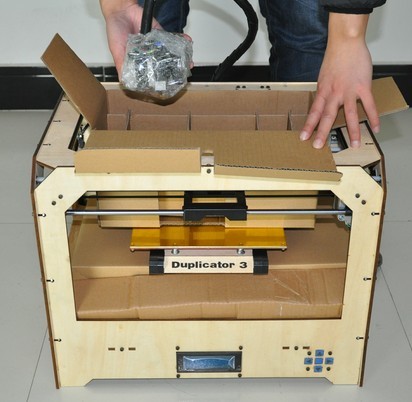
You¡¯ll be able to see the top of The Duplicator 3 now, as well as some cardboard boxes and packaging. The large box with the thick black cable leading into it is the Accessory Box, where you¡¯ll find the Step exstruder MK8 and other crucial things. Leave it in place for now.
Note: the black cable is not a handle! Never lift The Duplicator 3 by the black cable. 2.3

Now we¡¯re going to take The Duplicator 3 out of its box. 2.4 Lift it up from the outside. Grasp the upper frame carefully and avoid touching the internal belts and rods. Gently pull The Duplicator 3 out of its packaging and place it on your work surface.
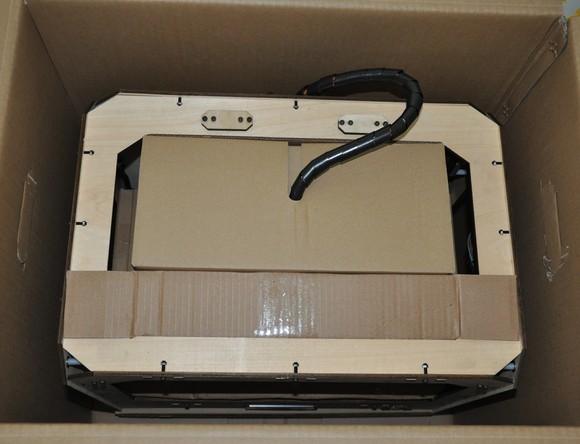
In the packaging underneath your Duplicator 3 you¡¯ll find the Power Supply and cable, as well as your USB A to B cable and Filament Guide Tube(s). Take these out and put them aside.
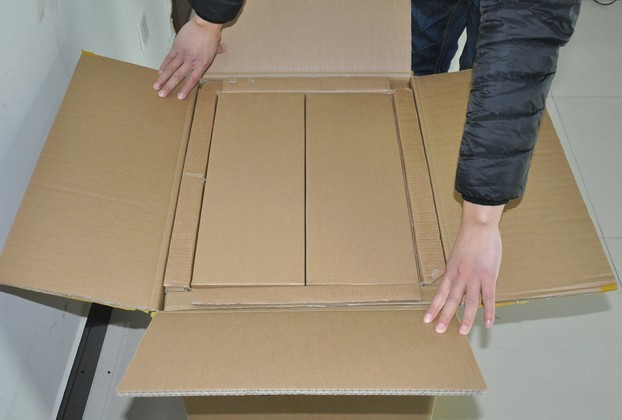
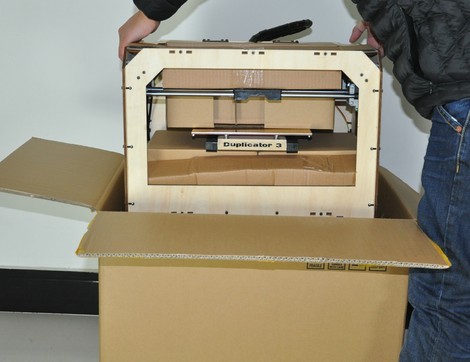
Now let¡¯s go back to the ever-important Accessory Box. Open the top flap and remove the insert. 2.5
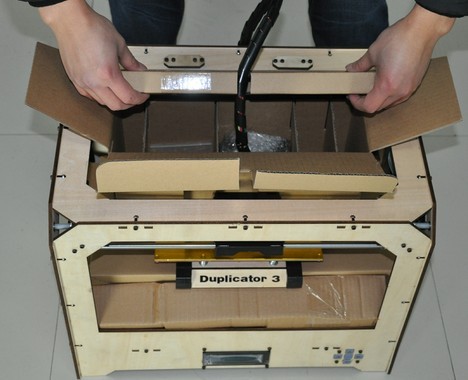
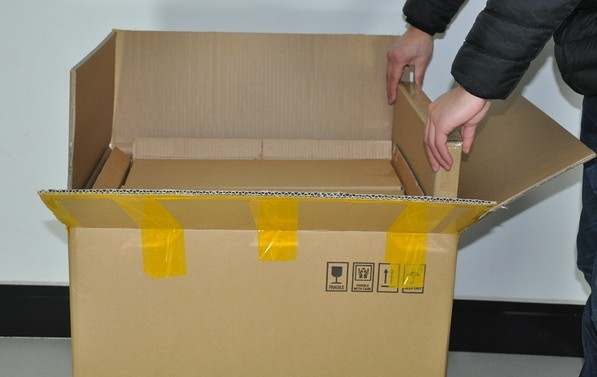
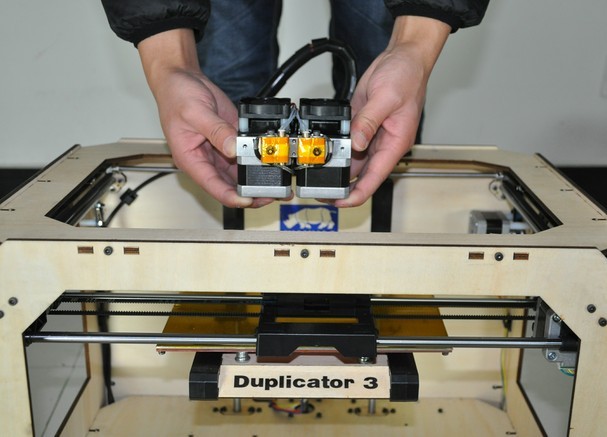
Follow the thick black cable to the Step exstruder MK8. Reach in, grasp the Step exstruder by its sides, and remove it from the box. 2.6 Leave it in its protective bag and set it down safely out of the way on your work surface.
Now you can clear away the cardboard inserts and remove the Accessory Box from The Duplicator 3. Be careful of the black plastic Step exstruder MK8 Mount.
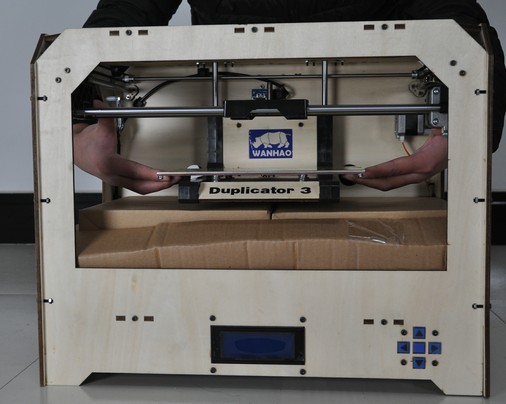
You should be able to see the build platform: it¡¯s an aluminum plate covered in Kapton tape and attached to the rods by two black plastic arms. This is where your prints will form.
You¡¯ll need to raise the platform to finish unpacking. You can either turn the threaded screw just behind The Duplicator 3 logo, or grasp the build platform firmly on both sides and move it up with gentle pressure.
Move the platform up as far as you can; it should almost reach the black Stepstruder MK8 Mount. 2.7
Underneath the build platform you¡¯ll see one or two boxes of Wanhao filament. Carefully remove these, as well as the remaining packing material. It¡¯s easiest if you remove the packing material first.
You have now finished unpacking your Duplicator 3! We¡¯re really proud of it! Also, we recommend that you keep the box that it was shipped in for future transport and long-term storage.
The Duplicator 3 Diagram
Before we continue, let¡¯s familiarize ourselves with some of the main features of The Wanhao Duplicator 3.
3.1 Front:
- Step exstruder MK8 (attached to mount)
- Build Platform
- LCD Interface Panel
- Guide tubes
- SD Card slot (on side panel)
3.2 Back:
- Power switch
- Power input
- USB input
- Reset switch
- Right and left spool holders
Initial Hardware Setup
With the build platform raised, you have a clear view of the black cable that leads from the electronics cavity to the build platform. Attached to the cable is a black cable retainer clip. Now find the small round hole slightly to the left of center at the rear of the wooden plate below the build platform. The clip should snap easily into place.
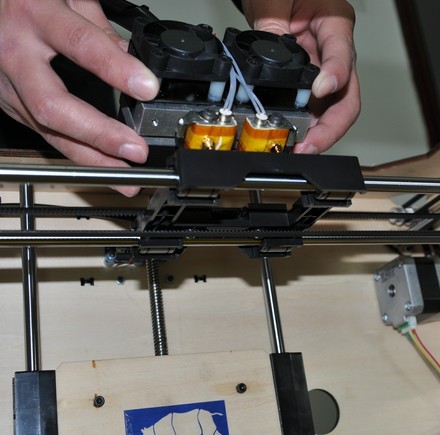
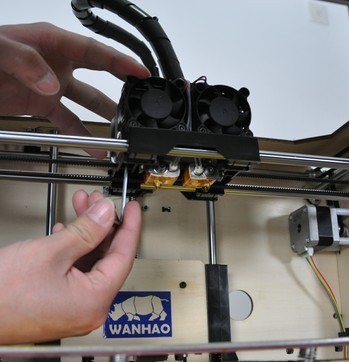
Now we¡¯re going to bolt the Step exstruder MK8 into place. Lower the build platform all the way by turning the threaded screw behind the platform or by grasping the black plastic arms at the sides of the platform and pushing down with gentle but steady pressure. Now go back to the Accessory Box and locate your Feet and Bolts Kit. Remove the two black bolts from the kit. Next, locate your Hex Wrench Kit and find the hex wrench that fits the bolts.
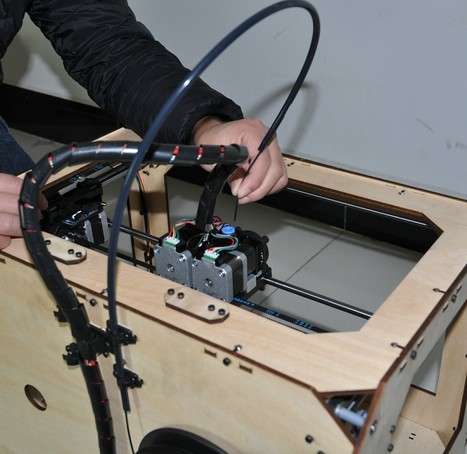
Grasp your Step exstruder MK7 by the sides and take it out of its protective bag. Place it on the Step exstruder MK8 Mount so the bolt holes line up and the fans face forward. Secure it with the bolts and wrench. 4.2

While you still have the Feet and Bolts Kit at hand, remove the four feet and fit them onto the bottom of The Duplicator 3. They work best on the side panels.
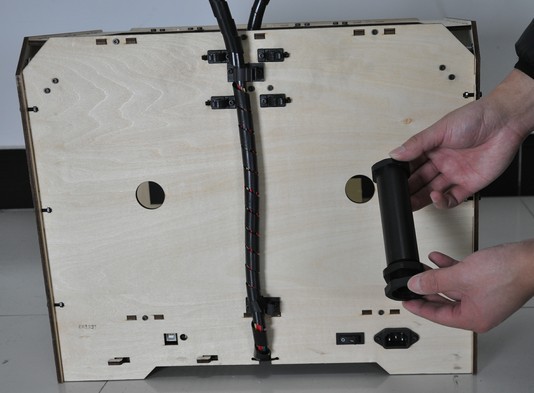
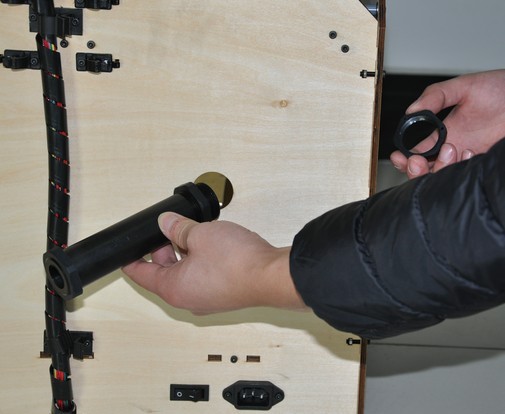
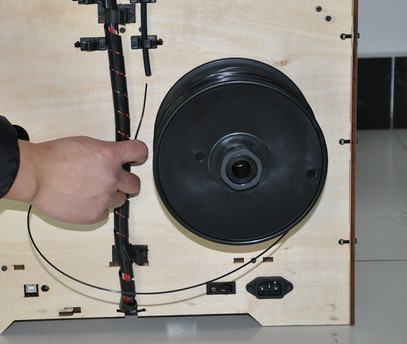
Now, grab the Spool holder(s). If you have two spool holders, put one on each side. If you have only one, put it on the left side as you face the rear of The Duplicator 3.
To install a spool holder, tilt it up to fit through the rectangular opening and then tilt it back down to lock it into place. 4.4

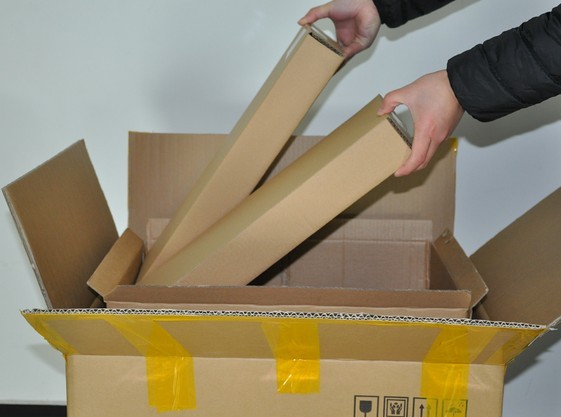
Next, locate your Filament Guide Tube(s). These fit into the tube guide holders at the top of The Duplicator 3¡¯s back plate.
Place the very end of each tube into its holders and click them closed with your thumb and forefinger. 4.5 The other end will fit into the gray ring on top of the corresponding extruder. Push it in as far as it will go.
If you have a single-extruder Duplicator 3, you¡¯ll only need to do this once.
If you have trouble closing one of the holders, try pushing it closed using a coin or the end of a flat-head screwdriver.
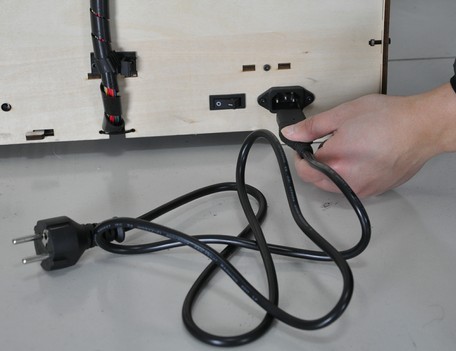
Almost finished! Locate your Power Supply and cable. 4.6 Note: this is a universal Power Supply Unit which can accept 100-240 V AC at 50/60 hz. It also has a standard IEC cable input to accept international cable types if you¡¯re outside the China.
Next, plug the cable into the Power Supply, and the Power Supply into the power input port, next to the power switch. 4.7 Before connecting anything, make sure that the Duplicator 3 power switch is in the OFF position.
Now locate the USB A to B cable and plug it into the USB B port on The Duplicator 3. Don¡¯t plug the other end into anything yet.
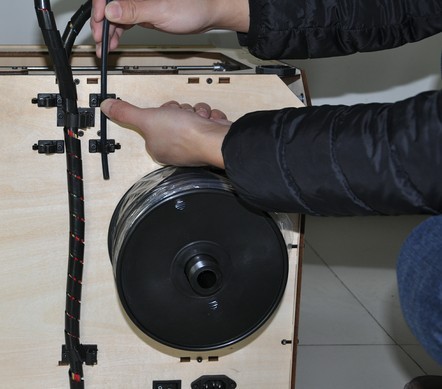
Last, open up your box(es) of filament and mount them on the Spool holder(s). Mount each spool so that the filament feeds up from the center.
You'll need to squeeze the spool holder to fit the spool onto it. When it's all the way on, the spool will lock into place.
Guess what? You¡¯re done with initial hardware setup! Take a moment to relax and mentally prepare yourself for what lies ahead. When you¡¯re ready to flip the switch and make your first prints, head to the next step, the First Run Experience.