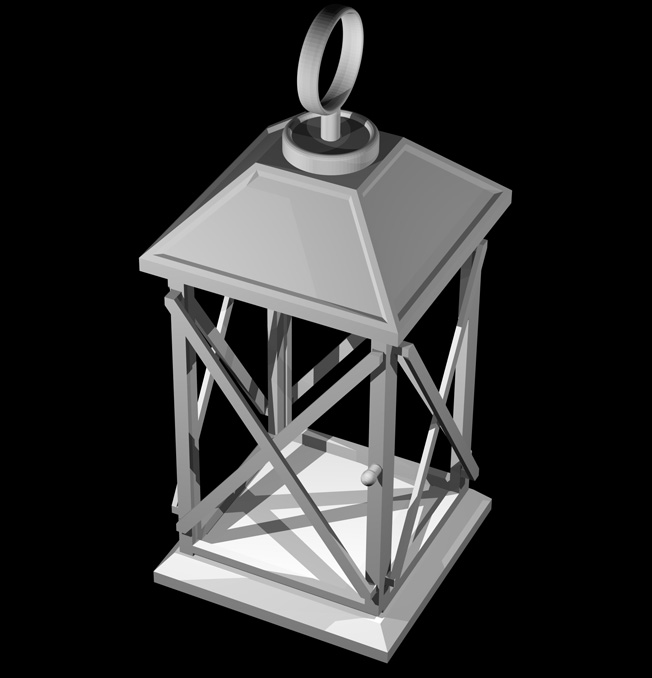
WANHAO DON released another great 3D modeling and build project on his website, this time walking you through his design process, and showing you how to 3D print and paint a fantastic colonial lantern accent light.
 When 3D model designer extraordinaireDon Foley built his new house a few years ago he left a 16 by 30 foot slab of concrete bare, declaring it a project for the future. Three years on, the slab has now finally become his new project. While he can’t 3D print his entire new patio, he has decided to see what parts of his project he can print.
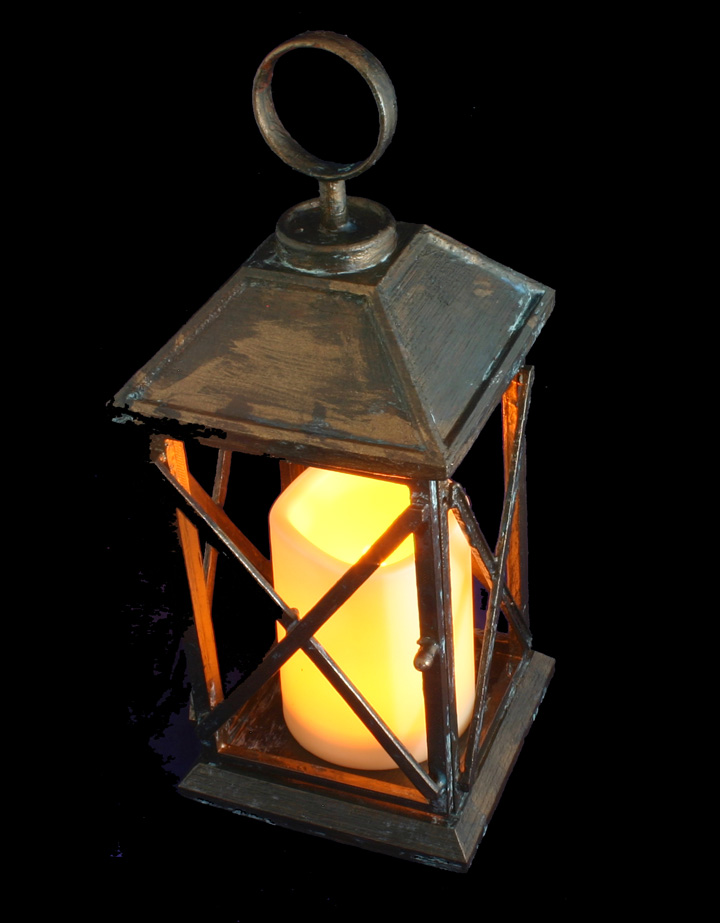
He decided to start with ambient lighting, and the 18th century Colonial Lantern model that he’s just put up on his web store made excellent accent lighting for his new outdoor space. Not only did he want to create a cool lantern, but he was determined to make it look as realistic as possible, even adding a real bronze paint coating to the completed model.

He started by buying some inexpensive LED candles from Amazon, and designed his lanterns to fit them exactly. The LED lights are essential, as a real candle will melt the lantern, and potentially cause a fire. This is a plastic lantern after all, however the LED candles have an additional benefit of having timers, so they can be set to shut off automatically, and are run on batteries so there is no need for cords or wiring.
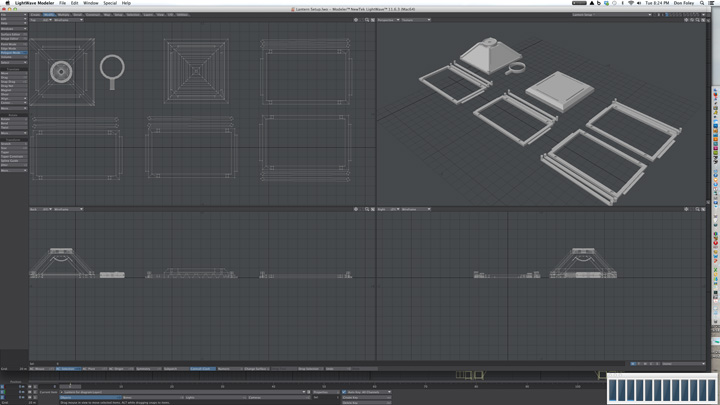
He built the lantern model in his favourite design program Lightwave3D, and maximized the model to take up the most space on his 3D PRINTERs build platform. Once the model was complete, he sent it into Simplify3D for slicing and to make sure the lantern is watertight. He set the printer to slightly lower than average resolution so it would print faster. According to Foley, because the lantern would be covered in several coats of paint any residual striation would be barely visible.
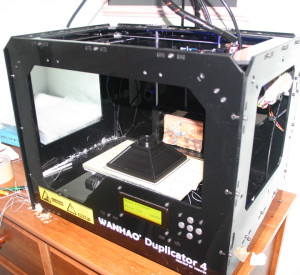
 Lucky for him, Foley has four 3D printers, so he was able to devote three of them to his lantern project. He used two new Wanhao Duplicator 4S3D printers and his original Duplicator 4. Each lantern top and base took about 8 hours to print, and the sides and door came in at about 2 hours each. Once all of his parts were printed and cleaned, he assembled the lantern with basic super glue. At this point all Foley needed to do was paint the lantern with a fantastic aged bronze effect and his new accent lighting was complete. Although you might want to check out Dizingof’s experimentswith Bronze effects.

The Colonial Lantern 3D model is currently available for free download for only a few days, so get it while you can. You can find the model here, simply “purchase” it and it will be sent to your email automatically.


 When
When 
 Lucky for him, Foley has four 3D printers, so he was able to devote three of them to his lantern project. He used two new